


Photo retouch AI Removal: tips from beginner to professional
Hey there, photo enthusiasts! Struggling with image AI Removal tasks? Fret not. Today, we're going to explore some fantastic Photo Retouch image AI Removal - out tips that will transform you from a novice to an expert in no time.
1. Harness the Power of AI Removal
Photo Retouch's AI Removal feature is a game - changer. It's incredibly convenient, especially when you're dealing with relatively simple images. Just upload your photo, and with a single click, the software will do its magic and separate the subject from the background. For example, if you have a portrait of a person against a plain wall, the AI Removal will quickly isolate the person, saving you a ton of time.

However, the initial result might not always be perfect. That's where the eraser and restore tools come in. The eraser tool allows you to carefully remove any remaining background elements that the AI Removal might have missed. On the other hand, if you accidentally erase something you didn't mean to, the restore tool can bring it back. You can adjust the size of the eraser to ensure precise editing, whether you're dealing with small details or larger areas.
2. Explore Background Replacement
Once you've successfully cut out the object, Photo Retouch offers an exciting feature - background replacement. This feature gives you the creative freedom to change the backdrop of your cut - out object. You can choose from a wide range of pre - set backgrounds, such as landscapes, cityscapes, or solid colors. Or, if you prefer, you can upload your own custom background image.
For instance, if you've cut out a product for an e - commerce photo, you can replace the original background with a more professional - looking studio - style backdrop. This not only enhances the visual appeal of the product but also makes it more marketable.

3. Add a Touch of Style with Stroke
The stroke feature in Photo Retouch is a great way to add a unique touch to your cut - out images. After cutting out the object, you can apply a stroke around it. You have the option to customize the color, width, and style of the stroke.
A thin, black stroke can give a classic, refined look to a portrait, while a thick, colorful stroke can make a graphic element stand out. This feature is perfect for creating eye - catching designs for social media posts, posters, or any other visual content.
By mastering these features and techniques in Photo Retouch, you'll be well on your way to creating professional - looking and engaging cut - out images. So, start experimenting today and let your creativity soar! Happy editing.
Download


 Windows
 macOS
macOS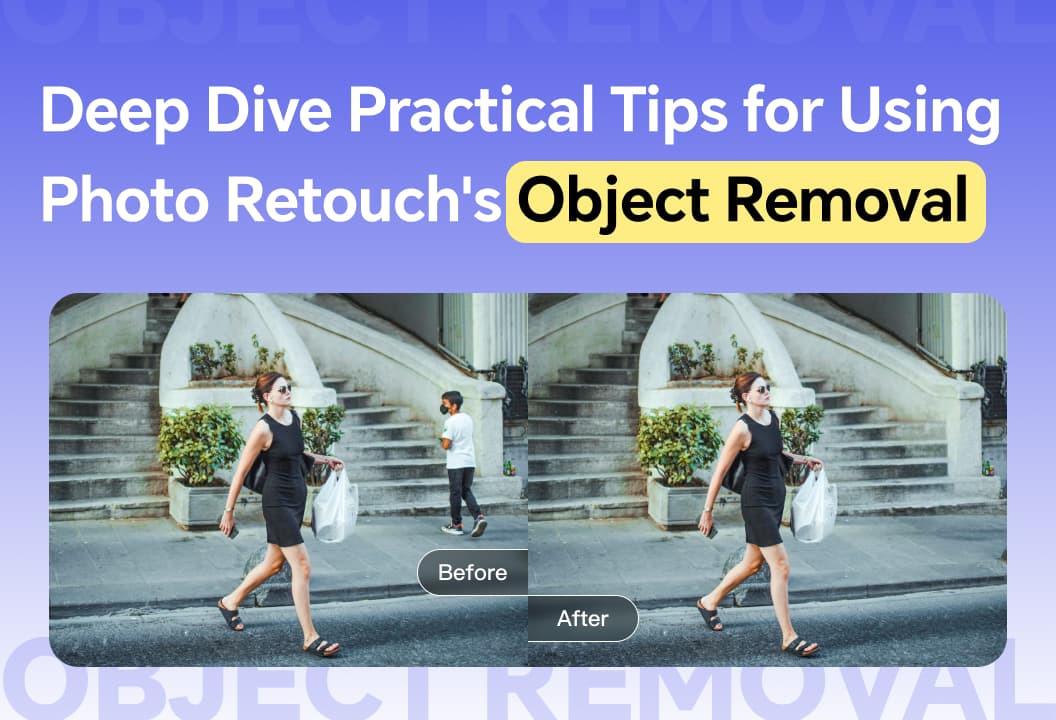
Master Photo Retouch's Object Removal with tips on selection methods, brush sizes, and text removal.
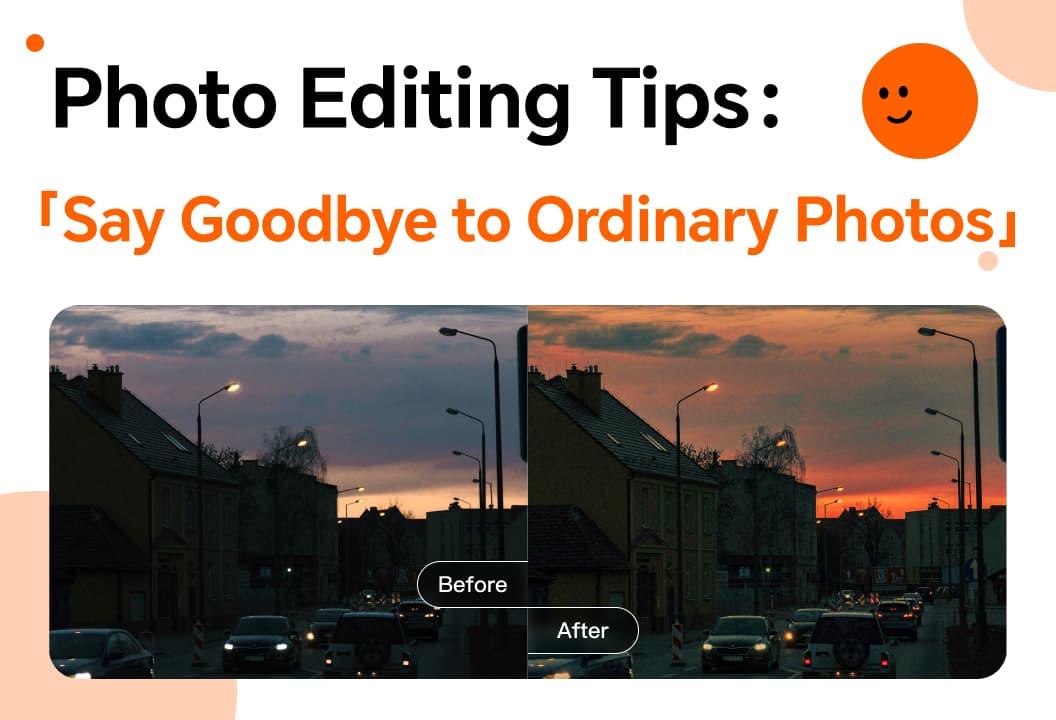
Enhance your photos with color adjustments, smoothing, liquify, stickers, and creative editing techniques.
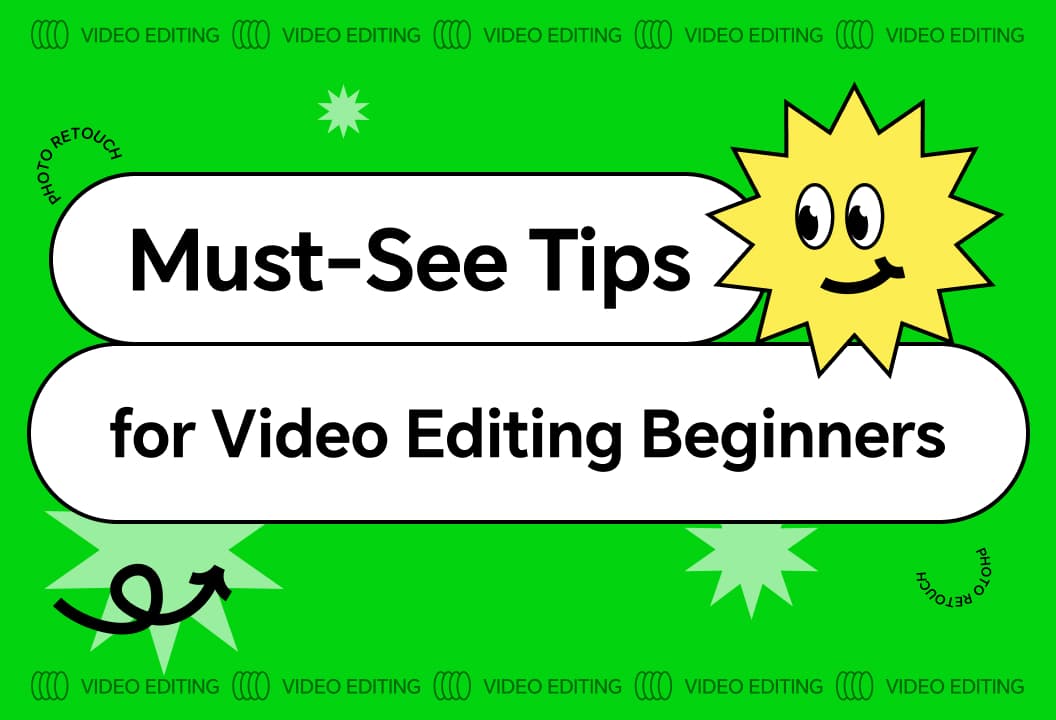
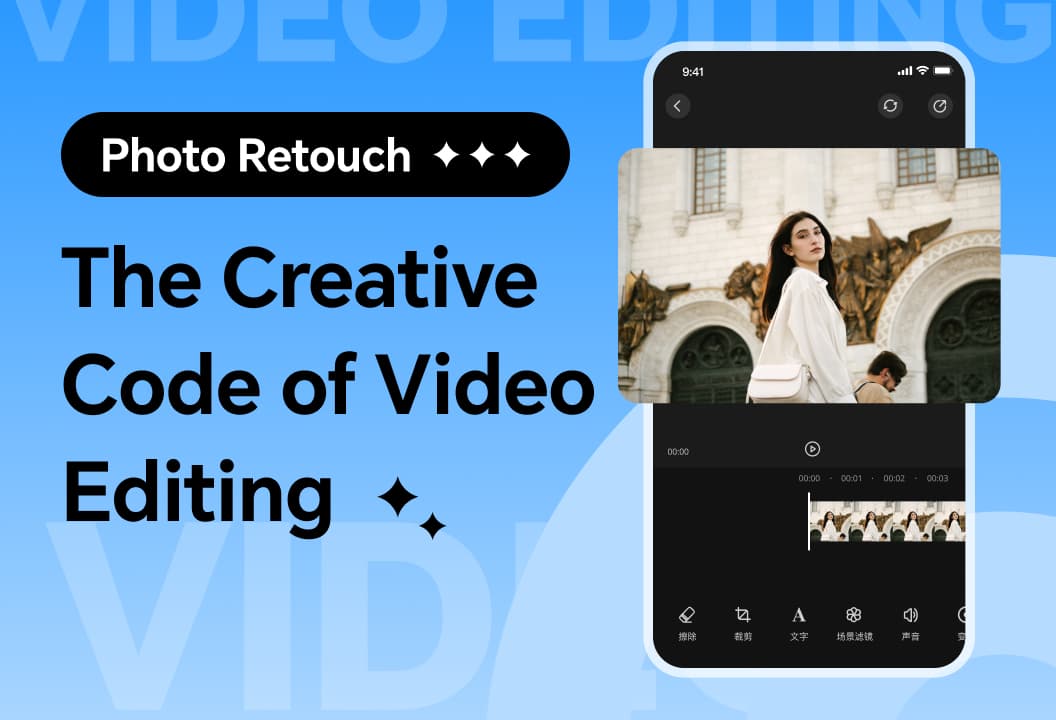
With Photo Retouch video editing, master filters and other techniques to easily create videos.

Enhance your photos with the vignette function to highlight subjects and reduce distractions creatively.

This article will introduce you to the one-click cutout function.
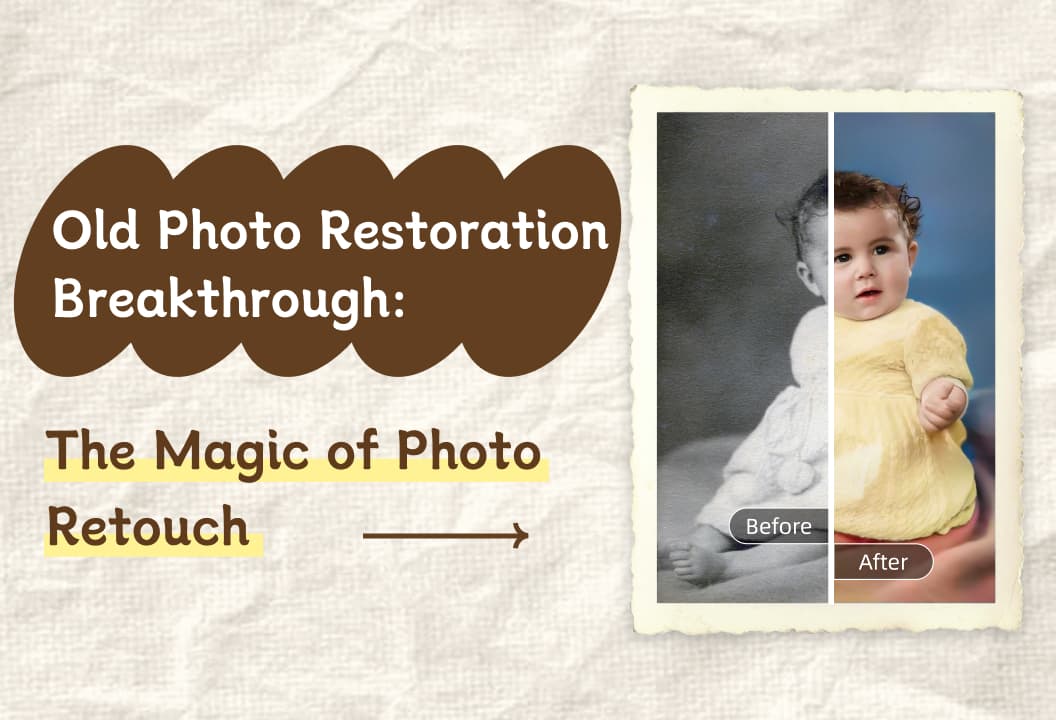
The old photo restoration function can easily restore old photos and awaken ancient memories!

collage feature lets you effortlessly combine, customize, and share photos, creating unique, memorable layouts.

Image Enlargement feature increases photo size without losing detail, enhancing clarity and resolution.
Photo Fix tools offer easy-to-use features for enhancing photos with color adjustments, reshaping, and creative effects.

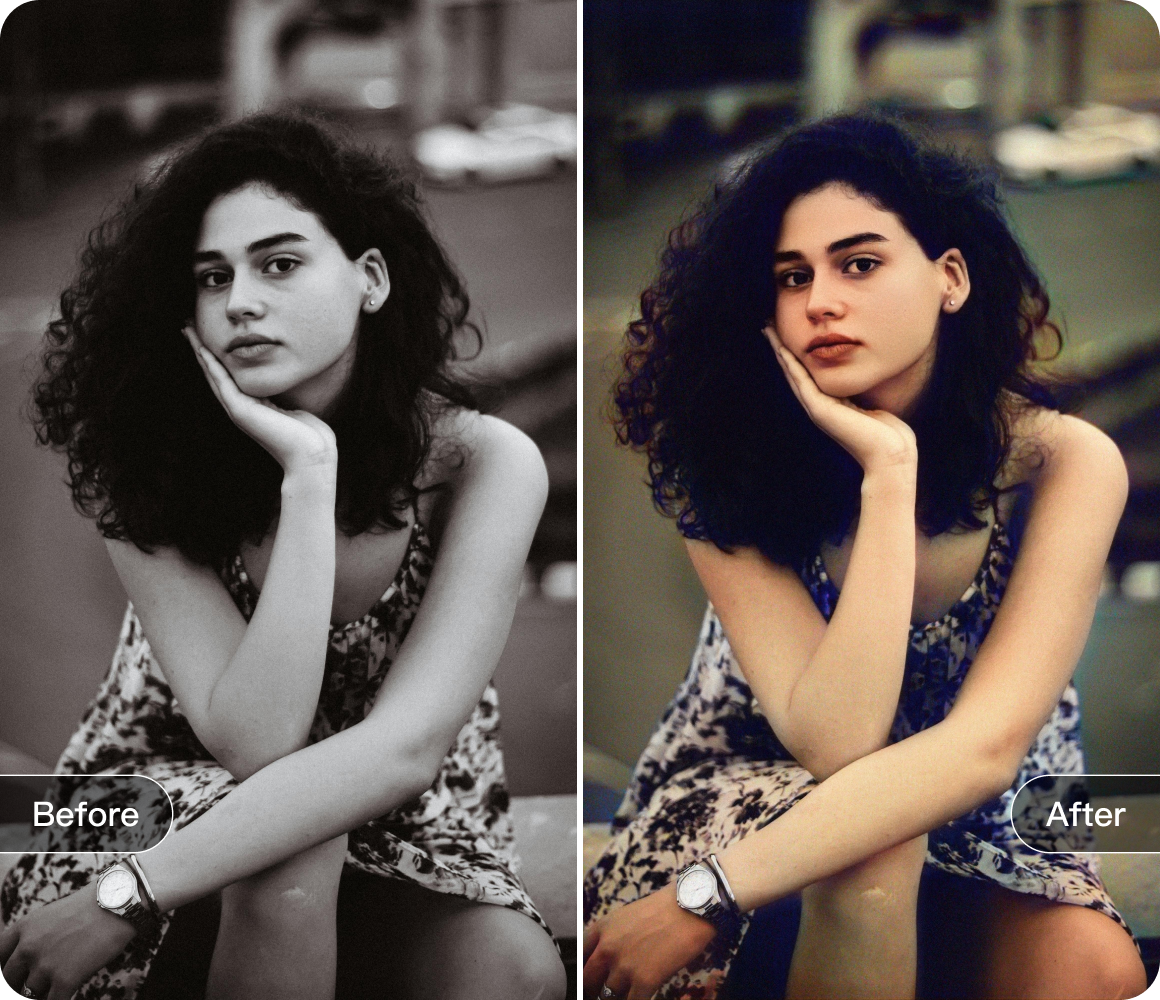
B&W photo coloring feature brings old black-and-white photos to life by adding vibrant colors and emotions.

Fragment Scatter feature adds magical, ethereal fragments to your photos, creating dreamlike, artistic effects.
A quick look at video editing for beginners! Multiple functions to help you create eye-catching videos easily.

Video face pixelation lets you blur faces to protect privacy while enhancing your content creatively.

Video Tracking Removal automatically blurs moving objects or faces, ensuring privacy while enhancing content and adding mystery.

Photo Retouch helps restore old photos with simple steps: backup, import, use one-click restoration.
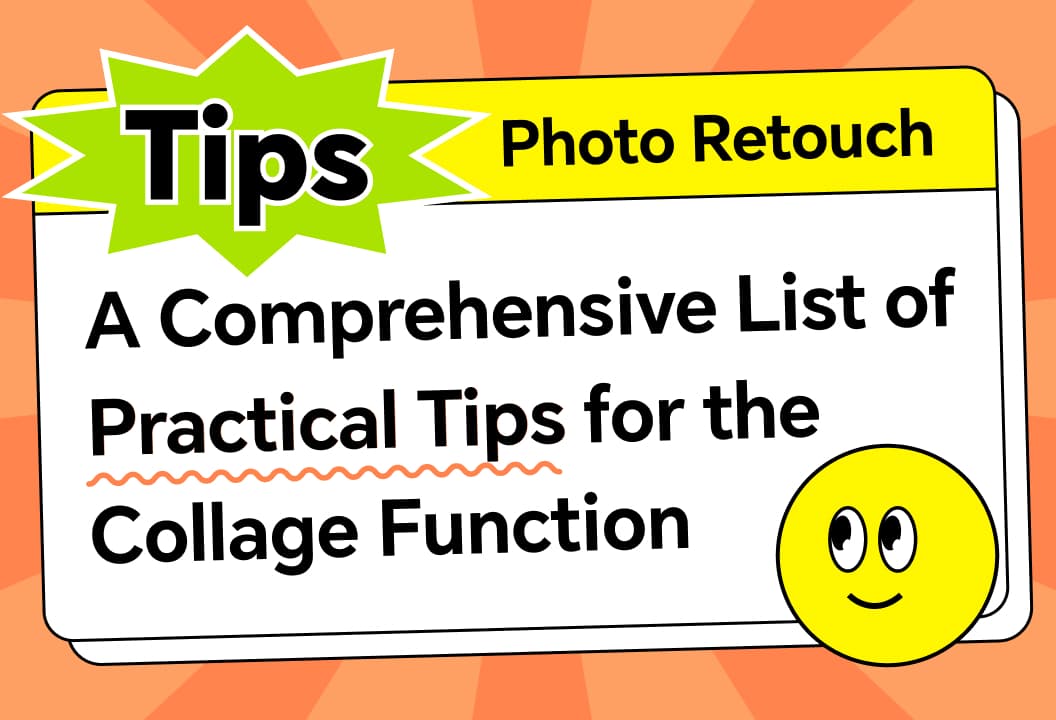
Learn how to create stunning collages with Photo Retouch using layout, proportion, borders, background, and shadow tips.

Enhance your photos with Photo Retouch's lossless enlargement for clearer, high-quality images.